Pottery Puzzle Made with 3D Printing: A New Interactive Experience for the Pottery Museum

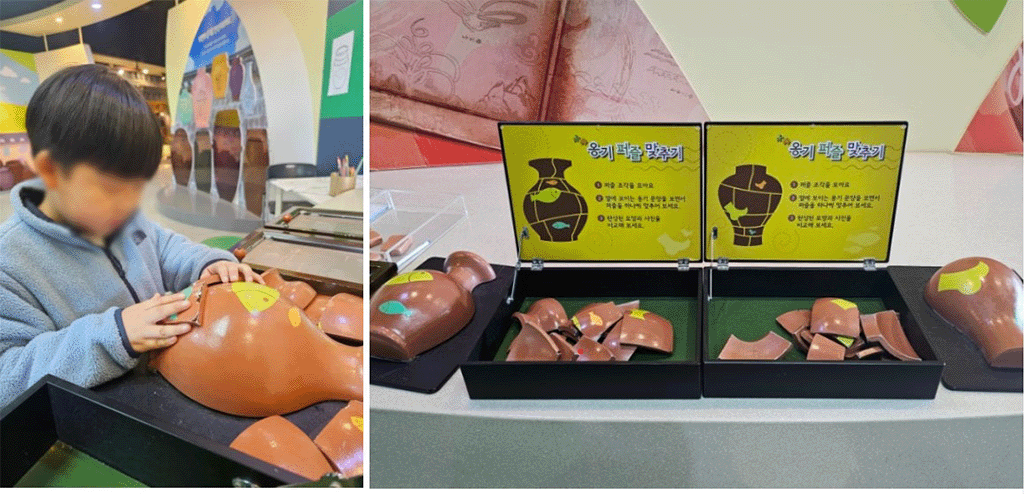
Recently, I embarked on creating a unique pottery puzzle using 3D printing technology for a pottery museum exhibition. This blog will cover the entire process from 3D printing to painting and final assembly, aiming to provide visitors with a hands-on learning experience.
1. Planning and Designing the Pottery Puzzle
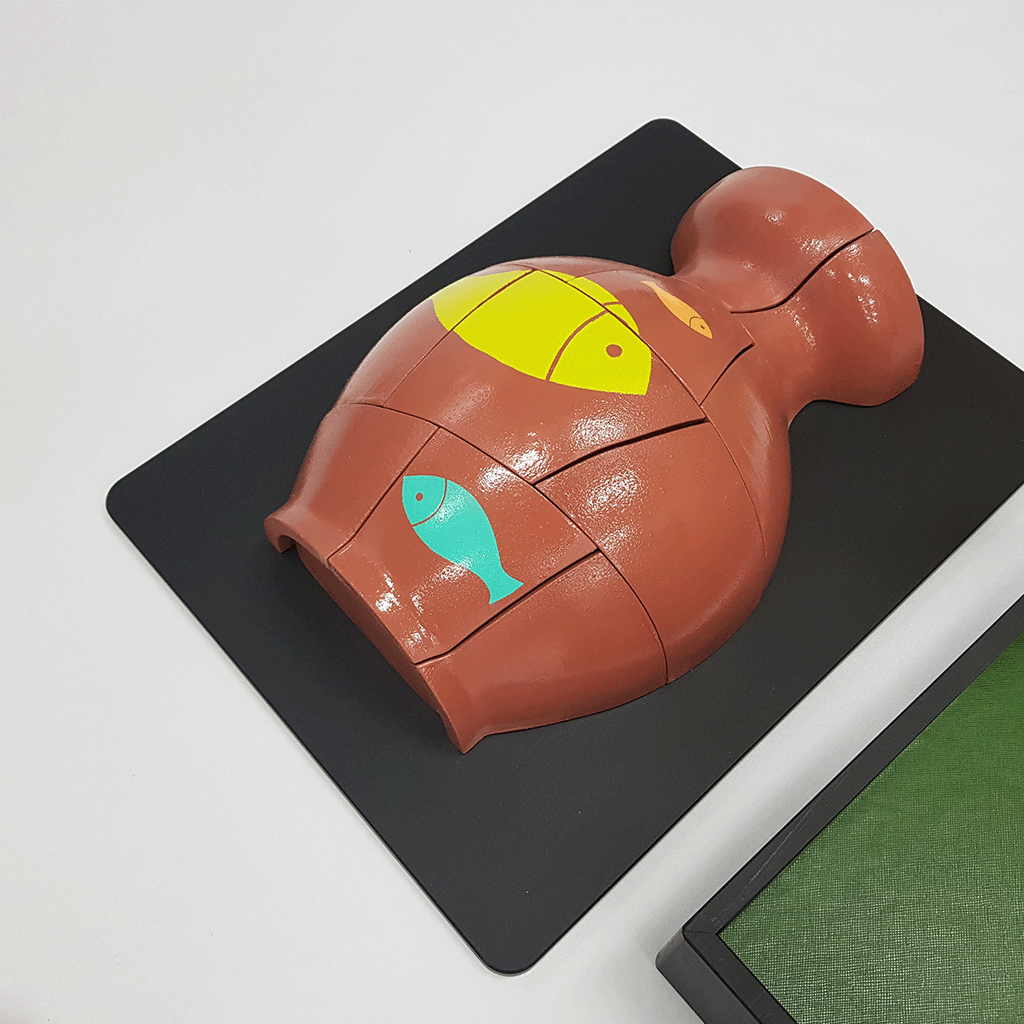
The first step in creating the pottery puzzle is designing. The shape of the pottery can be recreated by either scanning an existing pottery piece or directly designing the puzzle shape through 3D modeling software. Each puzzle piece has embedded magnets on its surface, allowing secure assembly and disassembly.

2. 3D Printing Process
Once the design is complete, we use a high-resolution 3D printer to print each puzzle piece. The material is a durable plastic, chosen to withstand repeated assembly and disassembly. Depending on the size and precision of each piece, the 3D printing process may take from a few hours to several days.
3. Embedding Magnets and Testing Assembly
After printing, we embed magnets into each piece. The magnets need to be precisely placed within each piece to ensure a smooth assembly experience. Testing follows the magnet insertion, verifying the pieces align and connect properly.

4. Painting and Finishing
The final step is painting. To capture the traditional look of pottery, we use paint that reflects pottery’s unique color tones, making each piece appear like authentic pottery. A layer of gloss is applied for a polished finish, creating the visual effect of real ceramic.
Conclusion: A New Possibility for Hands-On Learning
The pottery puzzle is more than just an exhibit piece; it serves as an interactive learning tool, allowing visitors to appreciate the beauty and structure of traditional pottery by piecing it together themselves.

